
Urban Cottage
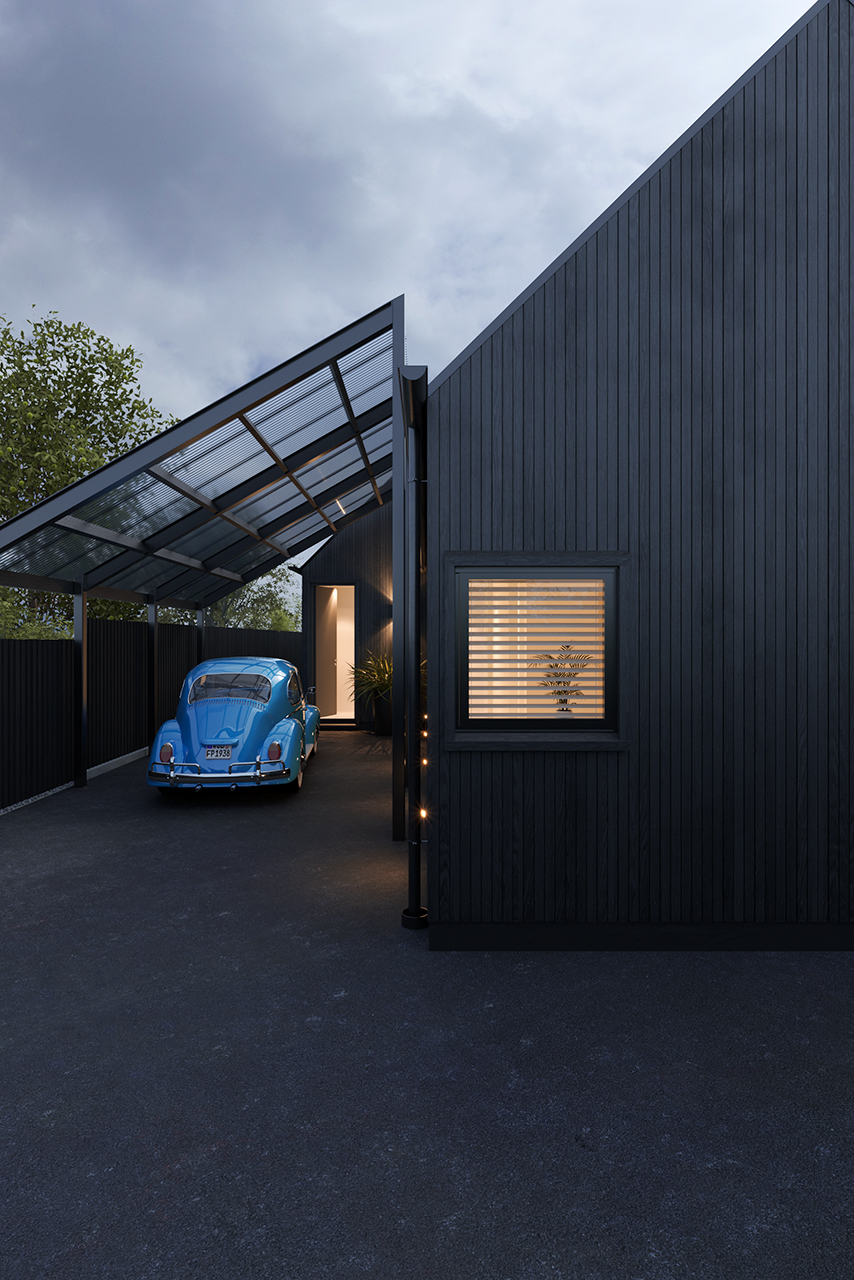
This project was inspired by an ArchDaily article. It's a lovely small residence in Christchurch, New Zealand designed by CoLab Architecture. Included in the article are a number of excellent photographs by Stephen Goodenough which I attempted to reproduce in 3D.
Modelling the building.
Handily there were jpegs of the plan and elevations included in the article. They are quite low-resolution, but they gave me a starting point for modelling the building. It's probably accurate to 50mm or so, close enough for my purposes.
The cladding was made using the Floor Generator 3D Studio plugin by CG-Source. It's a great plugin for creating planks.
Once the basic model was in place I added cameras and matched the photos as well as I could by eye. The exif data embedded in the images gave me a focal length, fstop, and shutter speed, as well as a date and time for the sun position.
Using the cameras I could see where things didn't align as expected and shunt everything into it's final position.
The roofing was made using a plugin I created called Corrugated. It's a shape plugin that can create trapezoid and wriggly cladding profiles. While not really necessary, it's a handy plugin and I hope to make it available for free soon.
Some of the exterior planting uses a plugin I created called GrassMaker. It's an object plugin that makes it easy to create all kinds of grasses and reeds. It's a work in progress, and I may make it available once I've improved it a bit.
Modelling the interior.
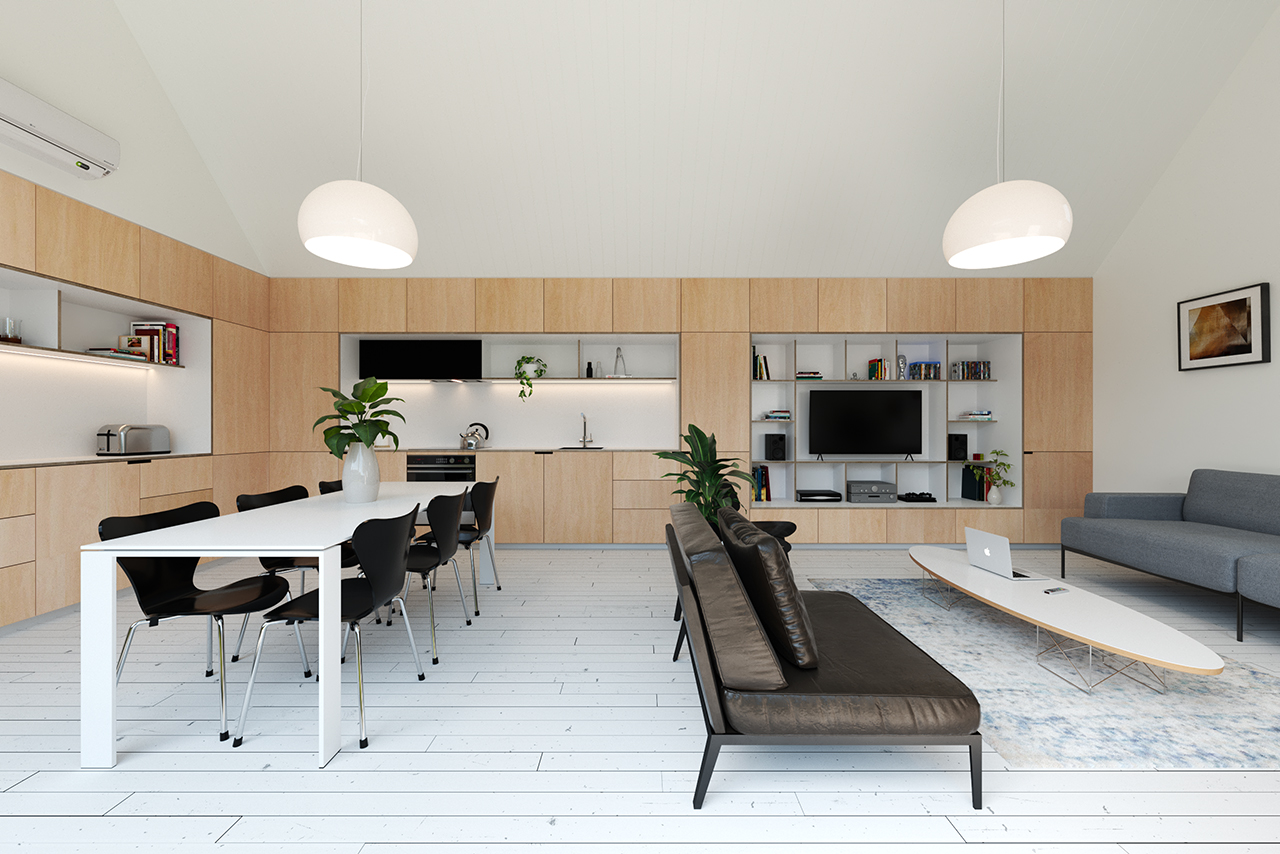
I found this article from stuff.co.nz about the building. It includes the make and model of a lot of the furniture used in the living room which made sourcing reference images for the furniture much easier. Some of the manufacturers, most notably Fritz Hansen, even provided 3D models for download on their site, although the quality varied greatly so some needed modifying or rebuilding.
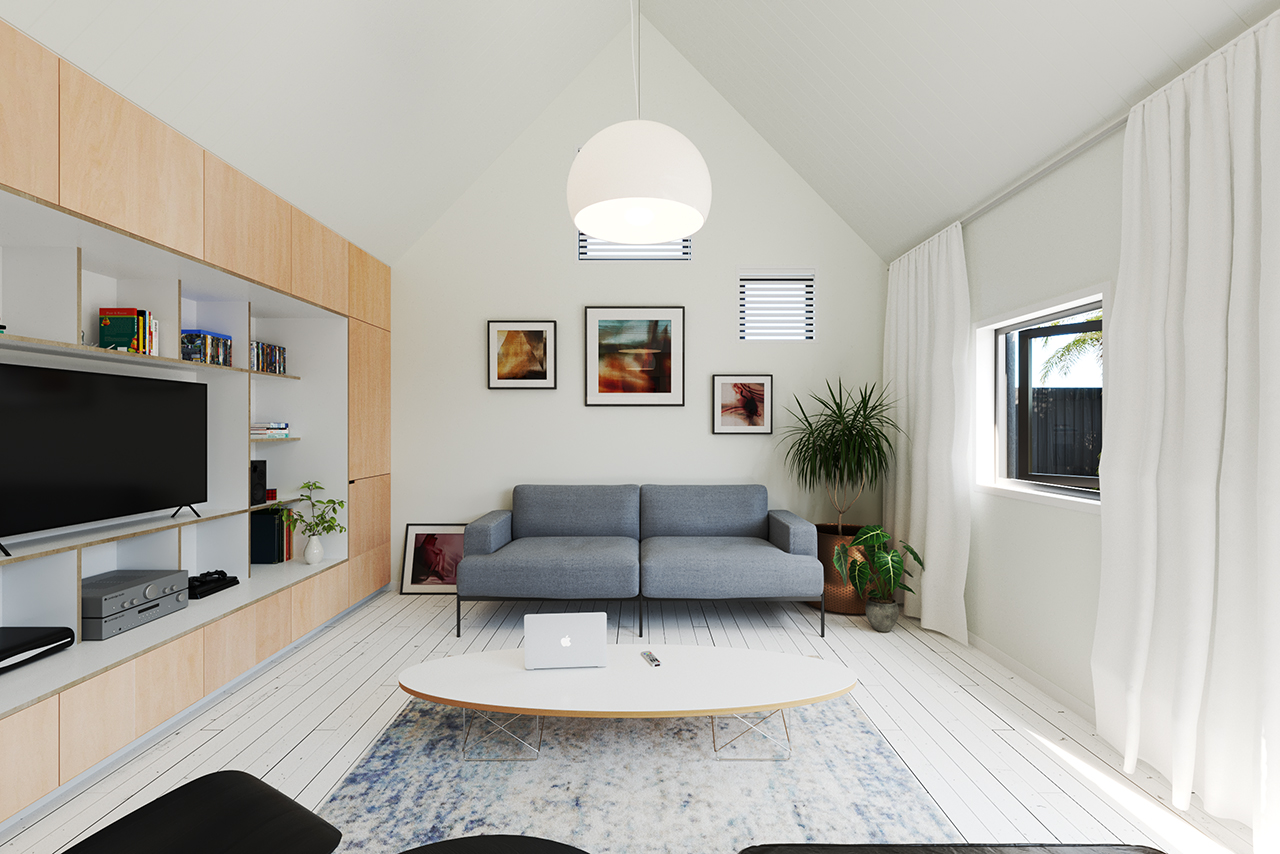
The tables and cabinets were modelled from scratch. Plants and miscellaneous props are a mixture of premium models, freebies, and hand-build models.
One of the cabinets in the original photos show a large amount of decor props. I didn't have enough decent props to fill the space so made the decision to alter the cabinet to house a large TV and hifi system, then surrounded them with the props I had available.
Lighting the scene.
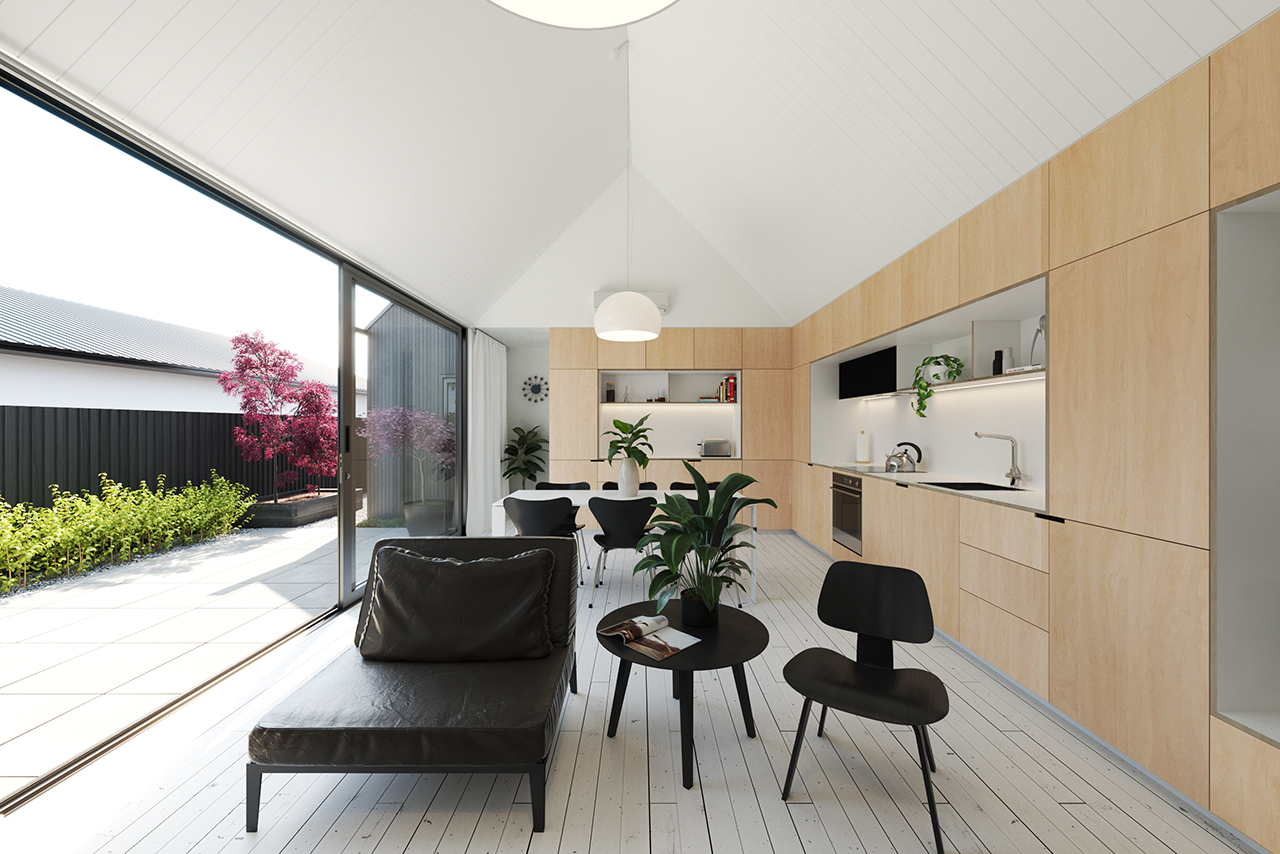
Most of the original photos were taken early morning around 9:30 to 10:15. There is almost no direct light entering the living room so it is lit almost entirely by the sky. I lit the scene with a VraySunSky system so I could match the date and time, but I disabled the sky and used a VrayLightDome with a HDRI instead as it made it easier to control the relative brightness and appearance of the sky. It's not perfect, the clouds in a HDRI image are a light source, and therefore have a huge impact on a scene that is lit indirectly. The same problem is there in the exterior images. The cladding is varnished although weathered, and is hugely influenced by the sky. In the end, I had to reposition the sky for each camera to attempt to get the light/reflections where I wanted them. Overall it worked out OK, and a bit of tweaking in post helped a lot.
Materials and texture.
The cabinets were difficult to mat due to the large area. If you're a 3D artist, I'm sure you've ran into the issue of not having large enough or varied enough textures of a certain kind. I actually ended up using a high resolution image of a wardrobe (from IKEA I think) that was evenly lit and flat-on to the camera. I cut it up into 5 large textures and used the Muti-Texture plugin by CG-Source (another really handy free plugin from those guys) to randomly use the textures on the panels. I unwrapped the cabinets and randomly offset each one to hide any repetition.
The exterior wooden cladding was probably the most tricky material. As mentioned before, it is lacquered and highly influenced by the sky light. It can shift from matte black to very shiny depending on angle and reflection. It's also made of up to 5 metre long planks, so has a similar problem to the cabinets. I think it ended up looking OK, but I never really got it looking as rough as I would have liked.
Rendering and post.
I mostly try to get everything looking right in the frame buffer. I'm not keen on assembling everything in post and prefer to save that for tweaking.
I rendered additional elements for object selection of the walls, floor, cabinets, and cladding. I used VrayDenoiser subtly to reduce render time a bit, and the VFB lens effects. I rendered caustics for the day exterior view seperately and composited them in.
I rendered five views in total. It took a while :). I replaced the sky in post on a couple of the views as the sky position, while good for lighting, wasn't as good for the view.
Finally...
Overall I'm fairly pleased with the results. There's always things you'd like to change and improve, but you have to stop sometime.
I hope you enjoyed a look at the project. Cheers.